Editing Music for Video in Logic Pro X
10 Final Cut Pro X video editing tips and tricks

If you're an Apple user, you've likely decided that Final Cut Pro X (FCPX) is a great video editing software choice. With features similar to the industry-leading Premiere Pro, it is a popular choice for professional video editors and hobbyists alike. And here we've brought some really handy tips and tricks to make the most of using it.
No matter what your level, there are always tips you can implement to increase your video editing efficiency. In this list, we'll look at some of the best tips for Final Cut Pro X to help you work quickly and effectively on your next project. And if you're inspired to delve into even more video editing tips, check out our list of the best video editing software (which features FCPX in the second spot).
01. Final Cut Pro X tips: Know your keyboard shortcuts
It might seem like common sense, but a lot of video editors either don't know or don't utilise the full range of keyboard shortcuts available on FCPX.
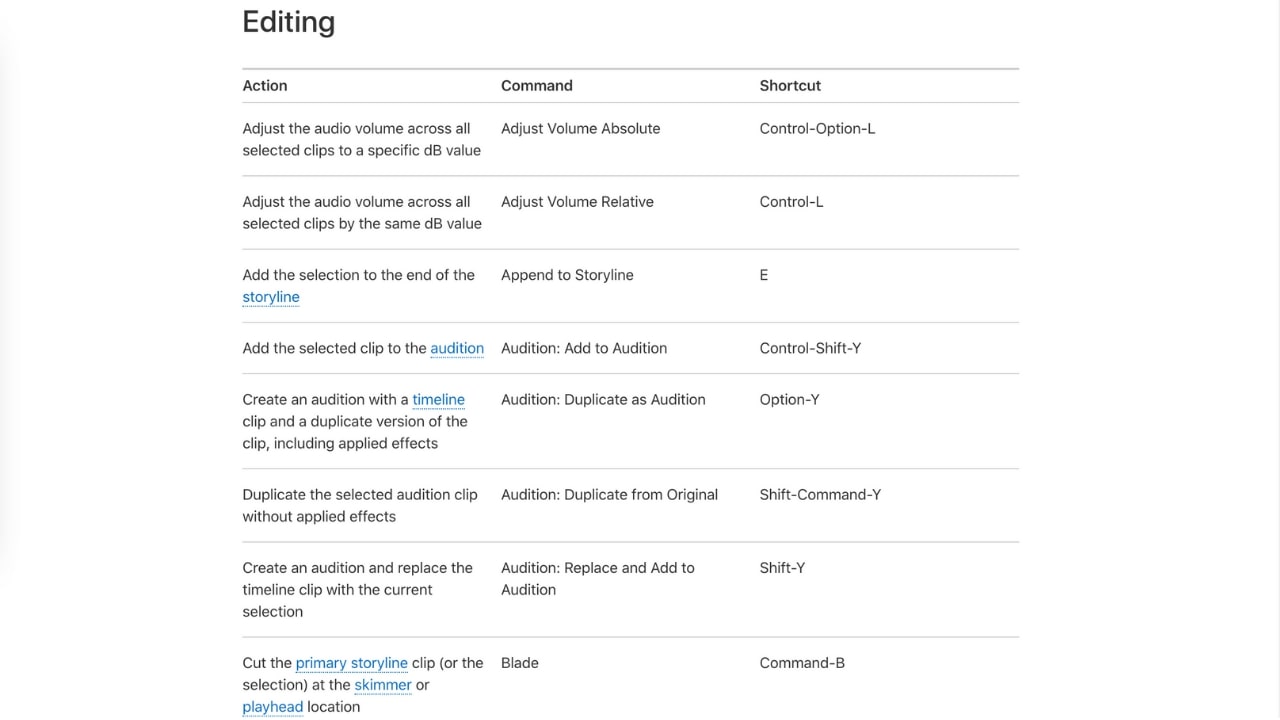
Eliminating the need for unnecessary clicks by understanding how to work with shortcuts saves time and allows you to work more productively. Below is a list of some commonly used shortcuts:
- Background rendering: Command + 9
- To import files: Command + I
- To reveal in finder: ^ + Command + R
- To fit into a window: Shift + Z
- To move left or right one frame at a time: Comma (,) or period (.)
- To start or end the clip at the current playhead position: Option + [ or Option + ]
You can also enact a further level of personalization by customizing shortcuts. Head to Final Cut Pro > Commands > Customize to change the settings to suit your needs.
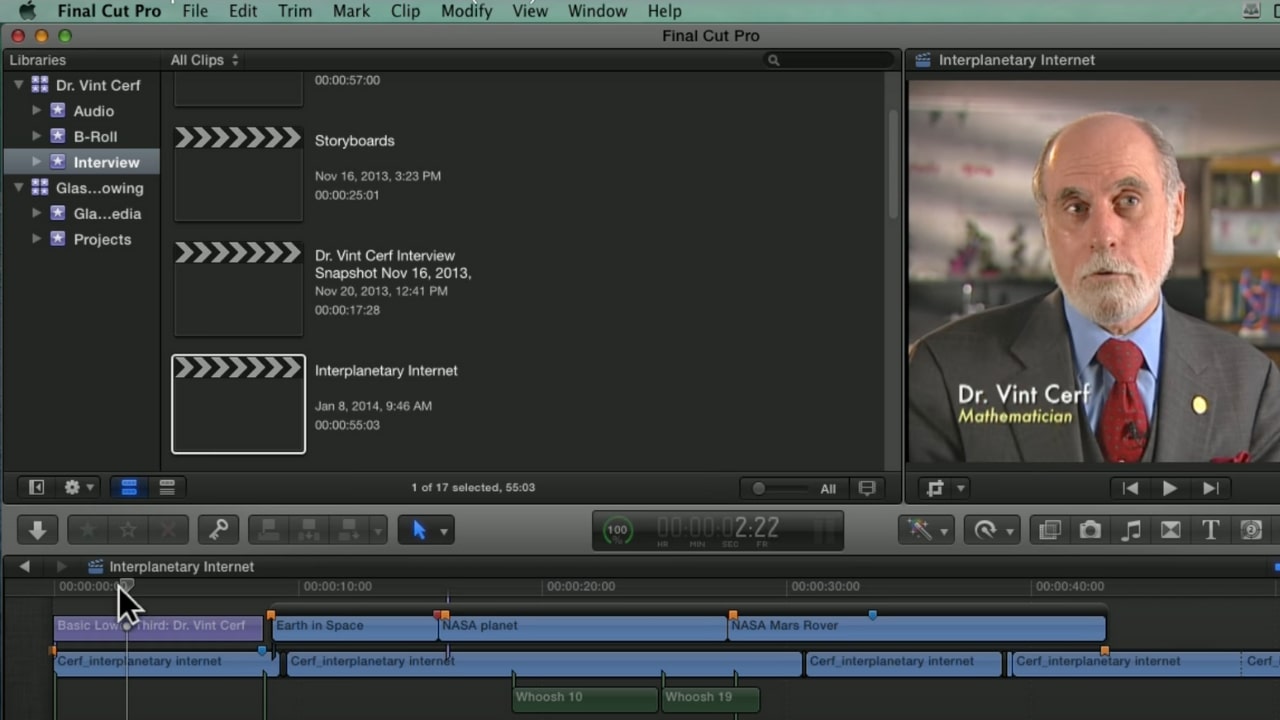
2. Final Cut Pro X tips: Understand the magnetic timeline
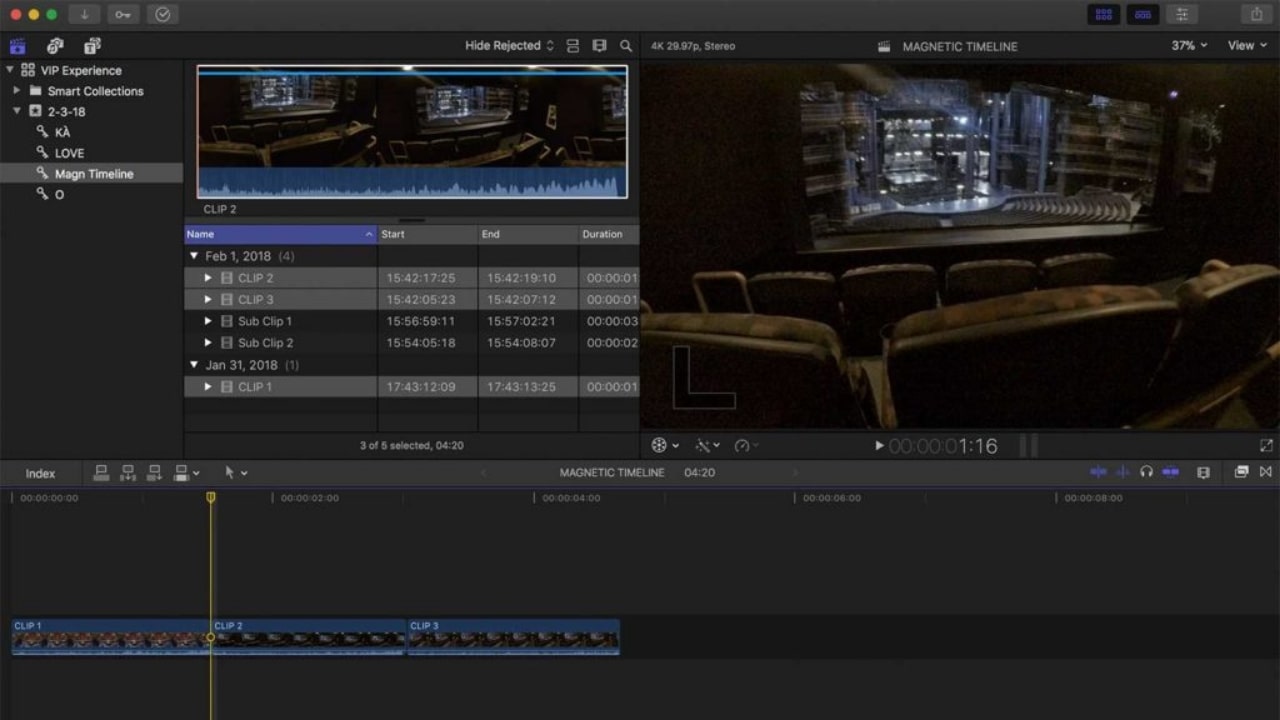
A time-saving attribute of FCPX is the magnetic timeline—a feature that snaps your clips into an organized order, magnetically adjusting them to fill any gaps created. You can trim, reposition, and reorganize your footage with this feature without losing track of your work.
While some editors find the magnetic timeline incredibly useful, others may prefer more autonomy when working. By disabling the magnetic timeline, you can enable a higher level of editing flexibility, a far better solution for those who perhaps don't work sequentially.
You can turn off the magnetic timeline by hitting P on your keyboard or by setting the timeline to Position. Pressing the FN key when deleting a clip will then leave an empty space in place of the removed clip rather than replacing it with another.
3. Final Cut Pro X tips: Check your output settings early on
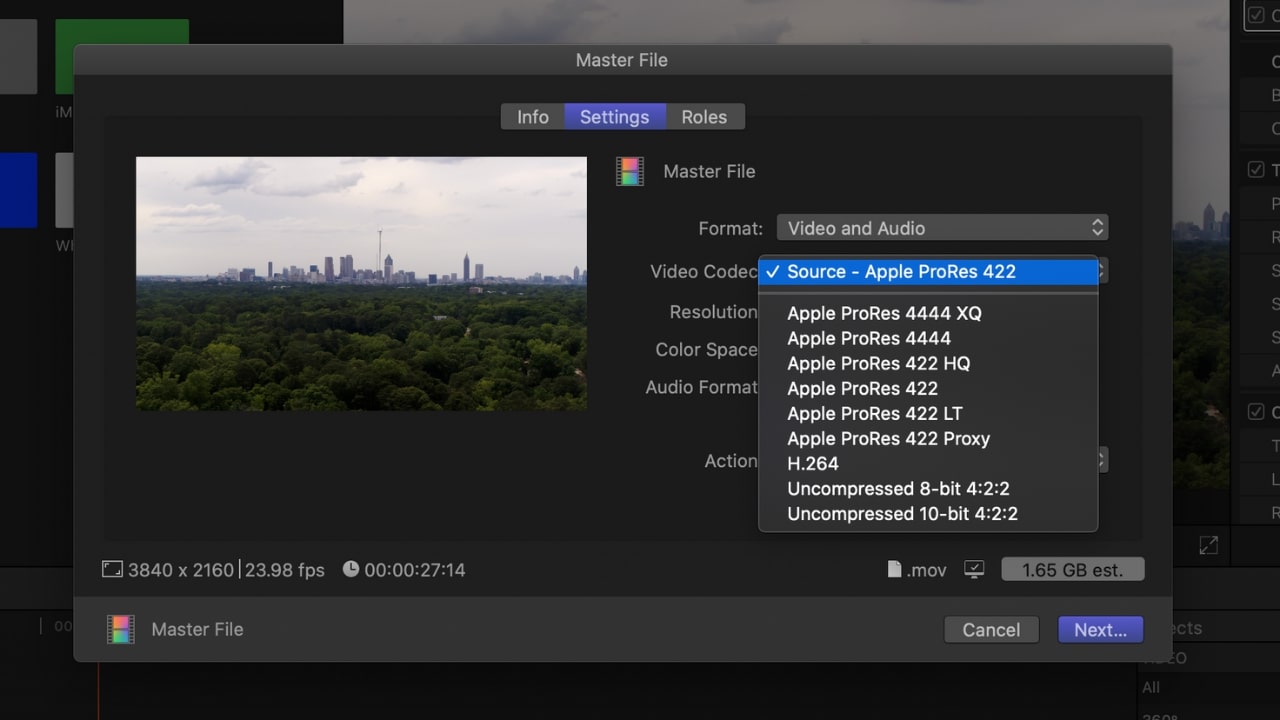
There's nothing worse than working hard to meet a deadline only to encounter issues when attempting to export your finalized project.
To avoid complications on completion of your project or delaying your delivery, make time to do a quick export of your project immediately after importing all raw footage. In doing so, you will ensure all settings are correct and that the final product meets your and/or your client's requirements.
4. Final Cut Pro X tips: Temporarily disable waveforms
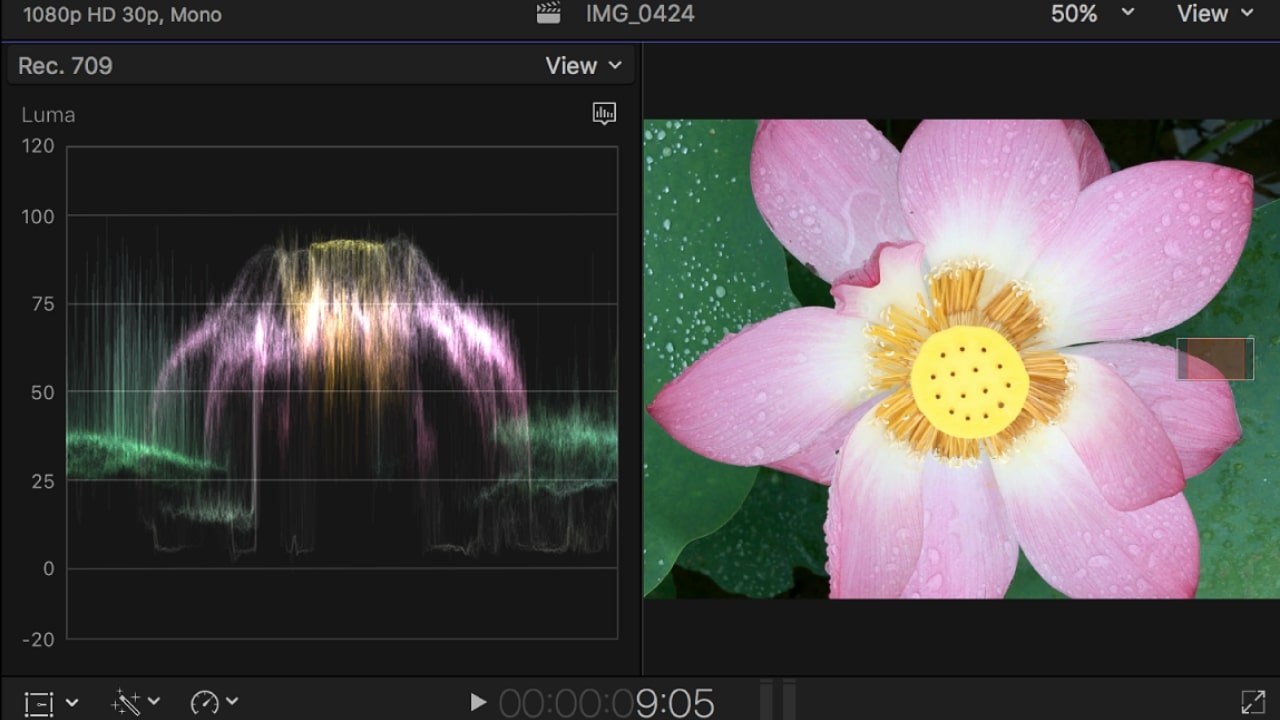
Many video editors find audio and visual waveforms useful for editing. These allow you to monitor the levels of luma, chroma, RGB, or luminance in the clip you're currently viewing, or to see a visual representation of audio files.
Unless you find them necessary to your process, many experts recommend disabling waveforms where possible, as the rendering of these can negatively impact the speed at which FCPX operates. To do so, head to View > Hide Waveforms.
Once you finish editing, you can turn waveforms back on to check your colour or audio levels before doing a final export.
5. Final Cut Pro X tips: Perfect your project with plug-ins
While FCPX already offers a comprehensive selection of tools, utilizing the array of additional plug-ins available could help you take your project to the next level.
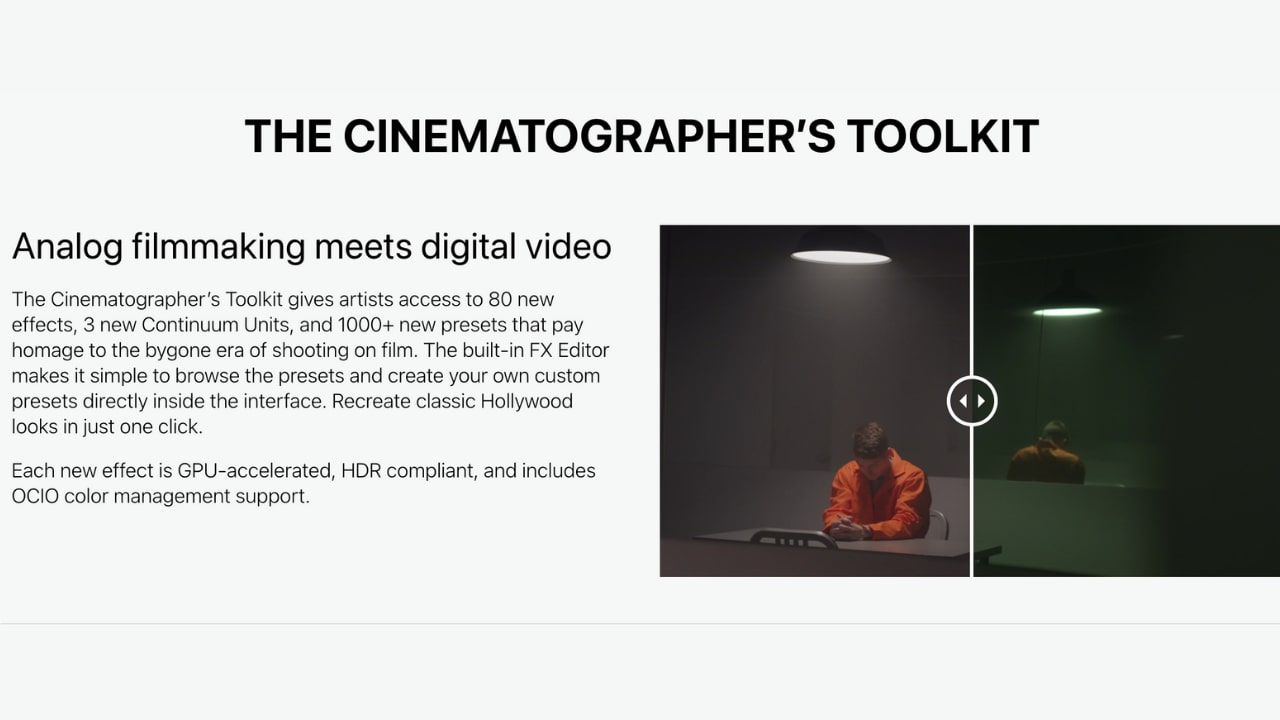
Editors looking for stunning visual effects can purchase add-ons like Boris FX—the Swiss army knife of plug-ins, offering almost 350 creative effects and over 4000 presets. Likewise, CrumplePop has an impressive collection of plug-ins available for purchase that are developed exclusively for Final Cut Pro.
There are a variety of other extensions aiding colour correction, transitions, captions, and collaborations available too, so it's certainly worth researching what's on offer.
6. Final Cut Pro X tips: Utilize adjustment layers
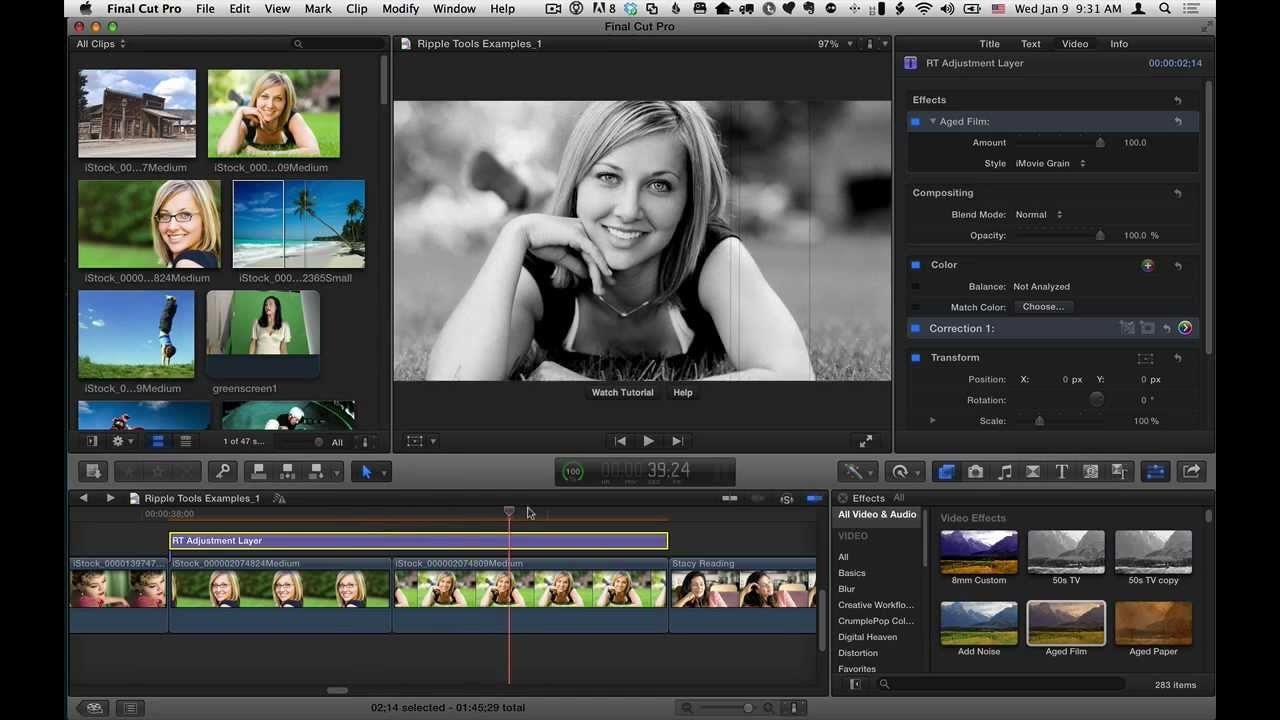
Adjustment layers are a commonly overlooked feature that can make editing multiple clips much simpler; they alleviate unnecessary timeline clutter while enabling you to experiment with visual effects.
Imported and positioned above the clips you wish to edit, an adjustment layer allows you to try out visual effects on the clips below. If you're looking to try new color corrections or effects, creating these additional layers saves you applying unwanted effects to raw footage.
While you're unable to create adjustment layers directly in FCPX, you can create your own in Motion or download ready-made layers from various resources online.
7. Final Cut Pro X tips: Assign roles to individual clips
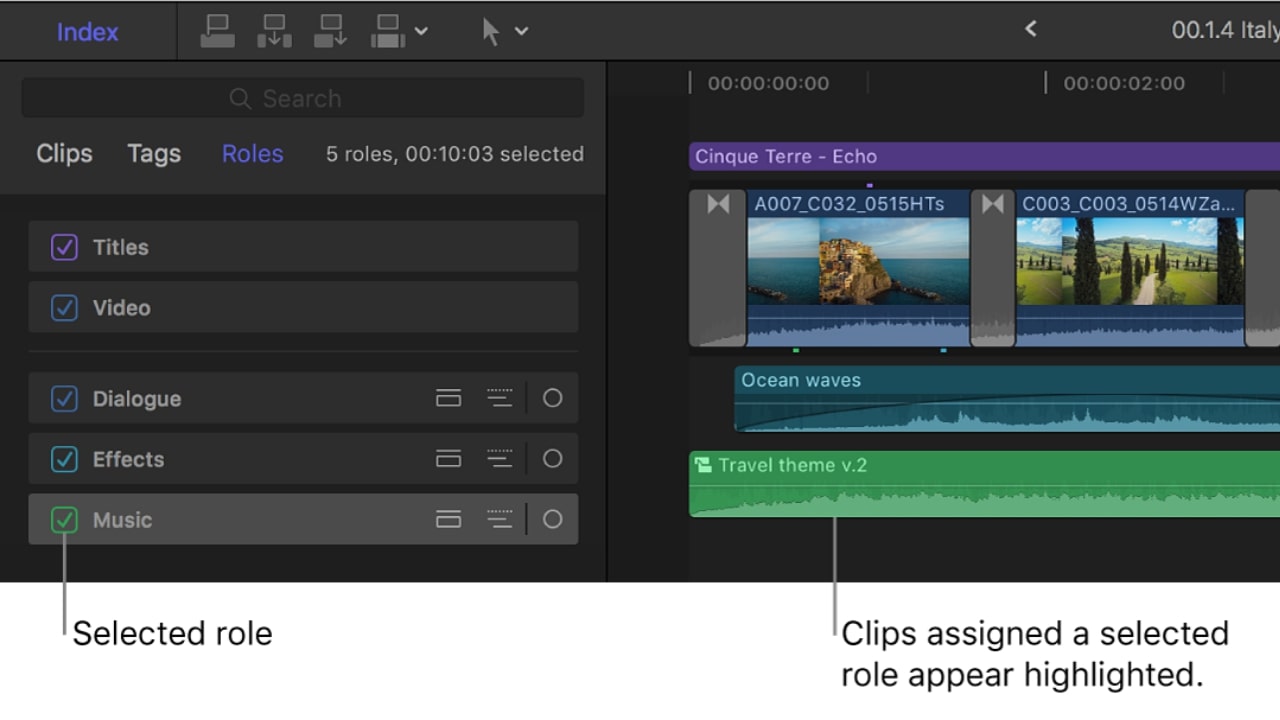
Roles are metadata text and colored labels that can be assigned to clips in your timeline. Using roles helps you easily distinguish between clips, grouping them by function or category to simplify your workflow.
You can even go a step further by assigning subroles or creating custom roles alongside the selection provided. Ensuring all clips are assigned the correct roles early in the editing process will maximize the benefits—right-click on a clip and choose Assign Video/Audio Roles to do so.
8. Final Cut Pro X tips: Generate placeholder clips to fill any gaps
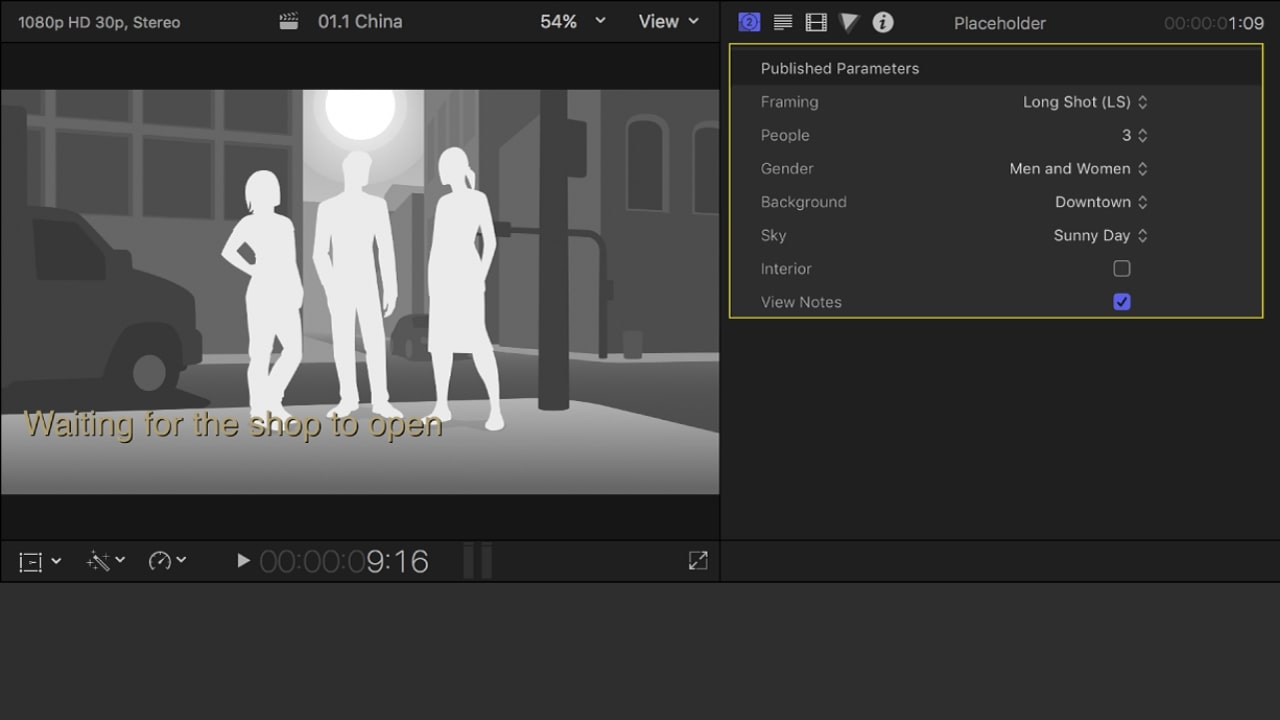
Although a fairly simple feature of FCPX, not all editors take advantage of generated placeholder clips—a simple but effective way of tidying your timeline.
If you have a gap on your timeline that you plan to fill at a later date, you can populate the space with a placeholder, providing a visual representation of your missing shot. Just go to Edit > Generator > Placeholder and place the clip wherever your missing shot is.
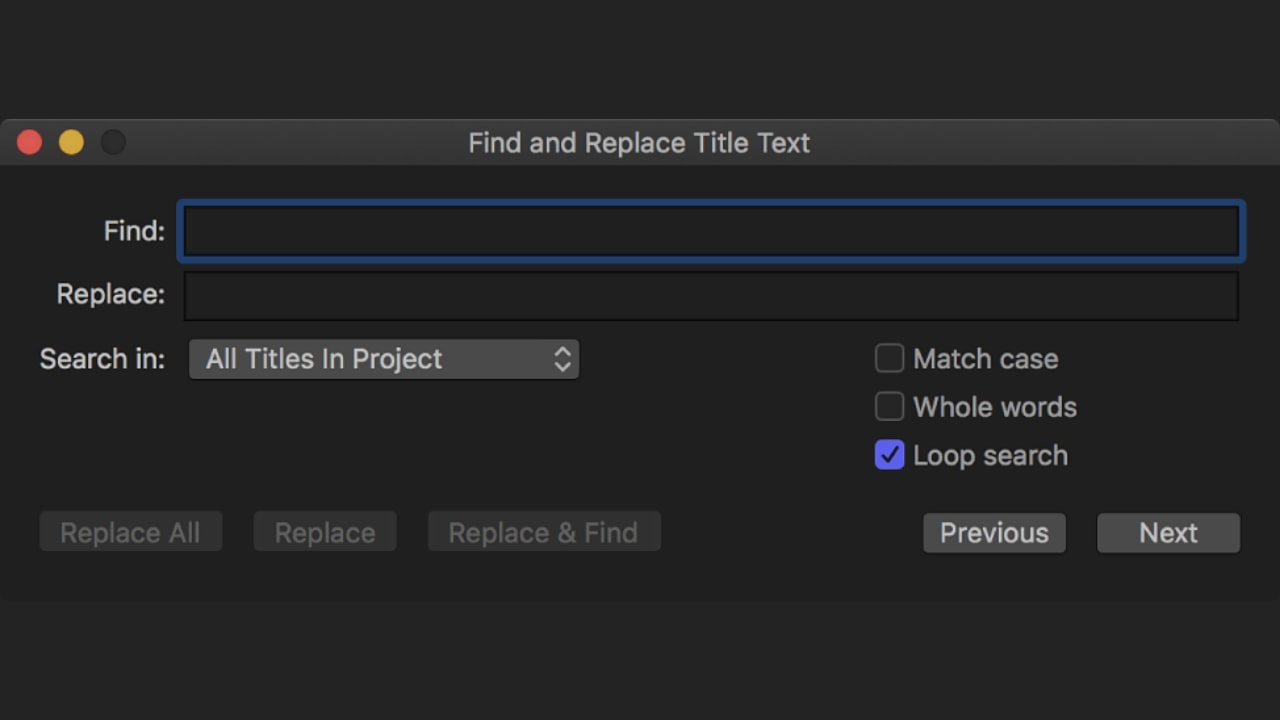
9. Final Cut Pro X tips: Find and replace mass text to save time
Finding a repeated error in your captions or lower thirds can be frustrating when you have to manually edit individual frames. However, with FCPX's find and replace feature you can save valuable time.
By going to Edit > Find and Replace Title Text and then typing in what you want to change, you can automatically correct multiple errors simultaneously. It may not be the most groundbreaking feature of the application, but knowing about this simple trick simplifies the correction process.
10. Final Cut Pro X tips: Take snapshots
Snapshot is a useful FCPX feature that creates a duplicate of your project and generates drafts as you work. When you duplicate your project as a snapshot, FCPX embeds copies of your clips into the duplicate so that any new edits won't affect them.
To create a snapshot, select the project you want to copy and choose Edit > Snapshot Project or press Shift + Command + D.
Related articles:
- Best video editing software: Top tools in 2021
- The best video editing apps
- The best audio editing software

Chelsea is a freelance writer with a degree in journalism from the London School of Journalism and a passion for lifestyle interests, especially as they intersect with consumer and business tech.
Related articles
Editing Music for Video in Logic Pro X
Source: https://www.creativebloq.com/advice/10-final-cut-pro-x-tips
0 Response to "Editing Music for Video in Logic Pro X"
Post a Comment